

 English
 Español

You are melting dark chocolate for a cake, and a few drops of water from a wet spoon land in the bowl. The chocolate turns from a glossy pool into a stiff, grainy paste. That is seized chocolate. The good news is that it is rarely ruined. The fast fix is to add hot water or fat a teaspoon at a time while stirring briskly. The catch is that rescued chocolate will not behave like properly tempered chocolate. It becomes a sauce, a ganache, or a baking ingredient, not a snap-and-shine coating.
Understanding why it seizes helps you choose the right rescue and avoid the same problem next time. This guide covers the water method, the fat method, when to use cream, and how production kitchens and chocolate lines prevent seizure before it starts.
Content
- 1 Why Chocolate Seizes: Water Breaks the Emulsion
- 2 The Hot Water Rescue: Add Liquid Slowly, Stir Briskly
- 3 When Fat or Cream Is the Better Choice
- 4 What Not to Do After Seizing
- 5 Prevention in Small Batches and Production Settings
- 6 Equipment Features That Reduce Seizure Risk
- 7 Rescue vs. Repurpose: Choosing the Right Outcome
Why Chocolate Seizes: Water Breaks the Emulsion
Chocolate is an emulsion of cocoa butter, sugar, cocoa solids, and milk solids. The cocoa butter forms a continuous fat phase, and the sugar and cocoa particles are suspended in it. Water disrupts that structure. Even a tiny amount of moisture from a wet spoon, a steamy double boiler, or a drop of condensation makes the sugar particles dissolve and clump together. The fat separates, and the mixture becomes coarse and stiff.
Heat alone can scorch chocolate, but true seizing is usually a moisture problem. This is why recipes warn against letting water touch chocolate. It is also why chocolate that looks fine can seize when you stir it with a damp utensil. Once the emulsion breaks, stirring harder will not fix it. You need to add enough liquid to rebuild the emulsion.
The Hot Water Rescue: Add Liquid Slowly, Stir Briskly
The counterintuitive fix is to add more water. The key is to add it slowly and hot. Cold water makes the clumps worse. Boiling water, added one teaspoon at a time, can re-form the emulsion. Keep the chocolate over low heat or in a double boiler, add a teaspoon of boiling water, and whisk constantly. The mixture may look grainy at first, then suddenly smooth out. Continue until it is glossy and fluid.
If you have added two tablespoons of water and the chocolate is still grainy, stop. Too much water will make the chocolate thin and unsuitable for baking unless you adjust the recipe. At that point, switch to the fat method or use the mixture as a sauce.
| Method | How to add | Best use after rescue | Texture result |
|---|---|---|---|
| Hot water | 1 teaspoon boiling water at a time, whisking constantly | Sauces, hot chocolate, baking batters | Smooth but thinner; may need recipe adjustment |
| Fat (cocoa butter, coconut oil, neutral oil) | 1 teaspoon melted fat at a time | Brownies, cookies, coatings, ganache | Glossy and richer; can soften the final set |
| Hot cream | 1 tablespoon hot cream at a time | Truffles, ganache, frosting | Silky and creamy; turns the mixture into ganache |
When Fat or Cream Is the Better Choice
If the recipe already contains fat, adding more fat is often the safest rescue. Cocoa butter, coconut oil, or a neutral oil can coat the sugar particles and restore flow. Avoid butter if you need a firm set, because butter contains water and can make seizing worse. For a coating or dipping chocolate, use cocoa butter or coconut oil rather than a liquid oil, and add it in small amounts.
Hot cream is the right choice when you are making ganache or truffles. The cream adds both fat and water, and the result is a smooth, rich mixture. Just remember that once you add cream, the chocolate is no longer suitable for tempering or molding. It has become a different product.
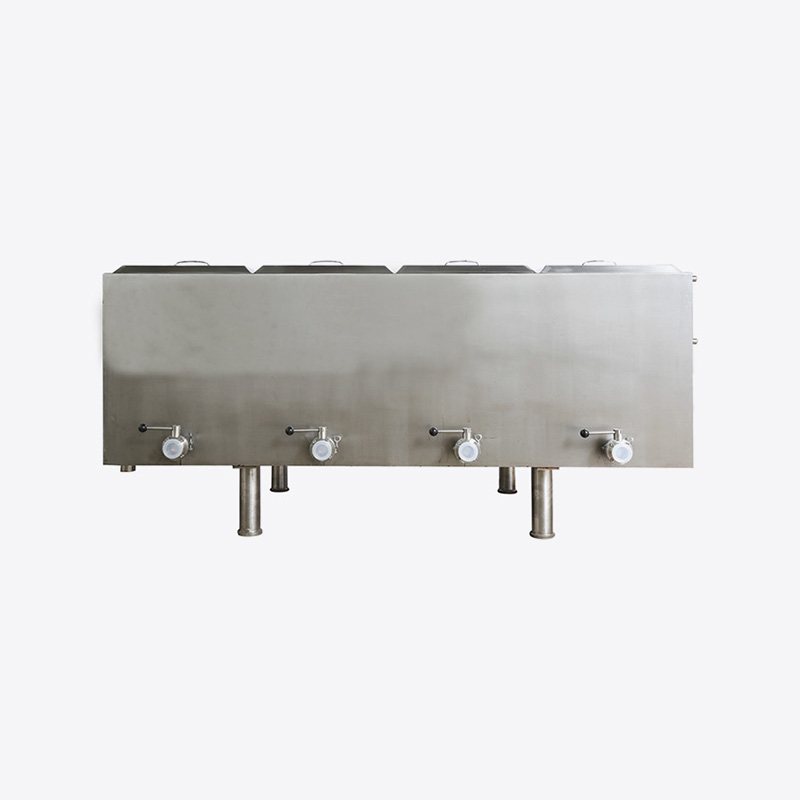
In production settings, fat handling is more controlled. A stainless steel fat melter keeps cocoa butter or other fats at a stable temperature, which reduces the risk of moisture contamination and uneven melting. That kind of control matters when you are working with 20 kg or more at a time.
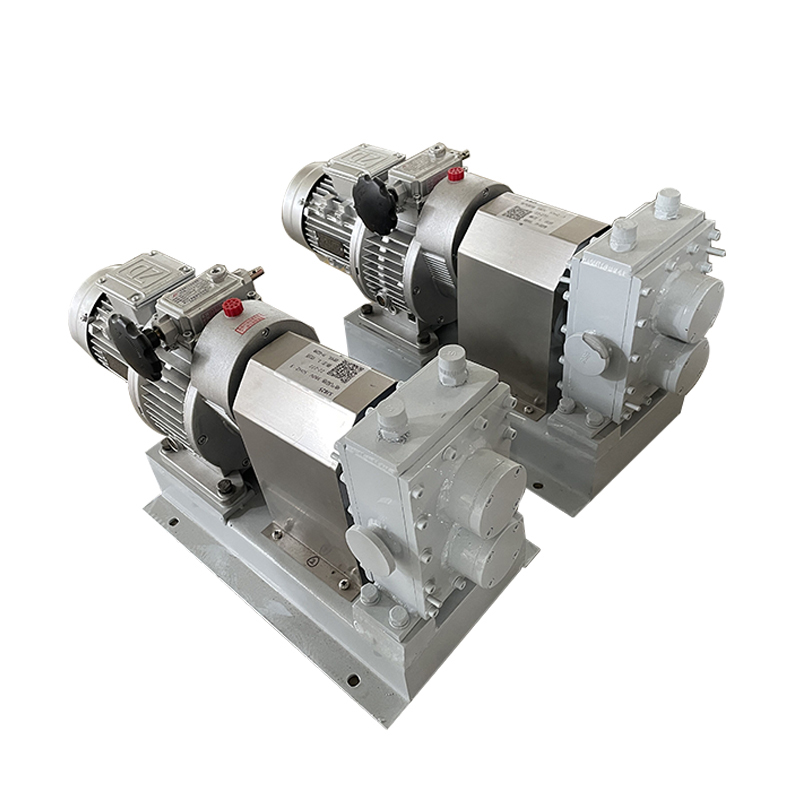
 RYG-2 Stainless Steel Chocolate Butter Fat MelterThe RYG-2 stainless steel jacketed fat melter supports controlled melting of cocoa butter and chocolate in production settings, with dual 120 kg capacity.View Product →
What Not to Do After Seizing
Do not add cold liquid. Do not turn up the heat and walk away. Do not keep stirring if the chocolate is already grainy and no liquid has been added. And do not try to use seized chocolate for tempering, molding, enrobing, or dipping. Even if you smooth it out with water or fat, the crystal structure is no longer right for a glossy, snapping finish.
- Do not use seized chocolate for chocolate bark that needs a clean snap.
- Do not use it for molded pralines or bonbons.
- Do not use it for enrobing centers that need a thin, even shell.
- Do use it for brownies, cookies, cakes, sauces, and ganache.
If you need tempered chocolate for a coating, start with fresh chocolate and clean, dry tools. The rescued batch can be set aside for another recipe.
Prevention in Small Batches and Production Settings
Small-batch prevention
Start with dry tools. A single drop of water on a spatula can seize a whole bowl. Chop chocolate into even pieces so it melts at the same rate. Use a double boiler or a gentle microwave setting, and stir often. Keep a thermometer handy: dark chocolate can be melted to about 45–50 °C, milk chocolate to about 45 °C, and white chocolate to about 40 °C. Do not exceed 55 °C. If you see steam, remove the bowl from the heat.
Production-scale prevention
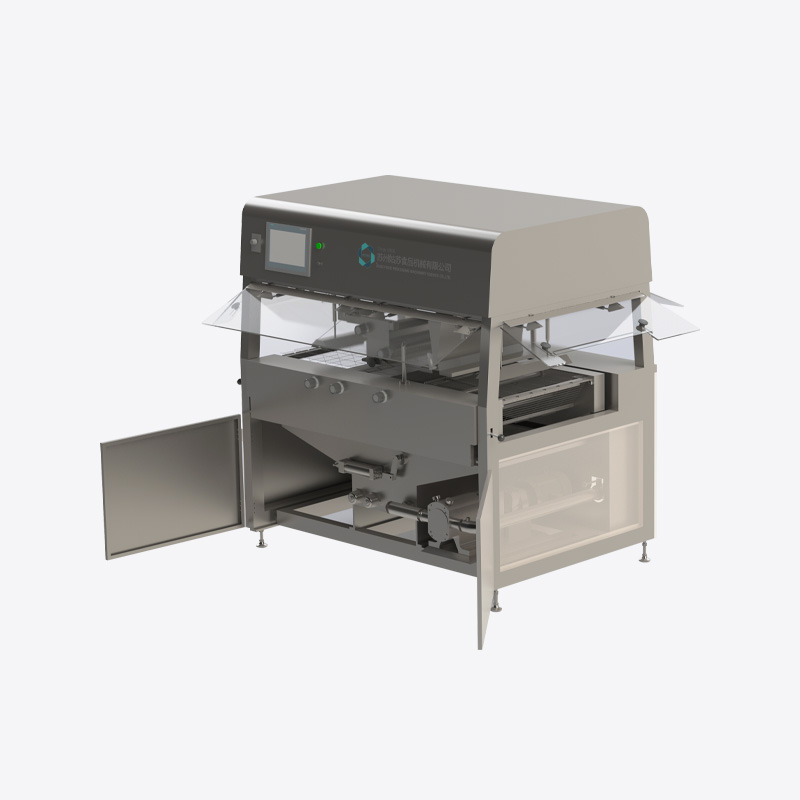
In a factory, seizure is usually a moisture or temperature control failure. Steam leaks, wet cleaning residue, humid air, and poorly sealed tanks can introduce water. Temperature swings can also cause fat separation. Production equipment addresses this with enclosed vessels, controlled heating, and agitation that keeps the mass uniform. A tempering machine with automatic temperature control, for example, holds chocolate in a narrow temperature range and reduces the chance of overheating or uneven crystals.
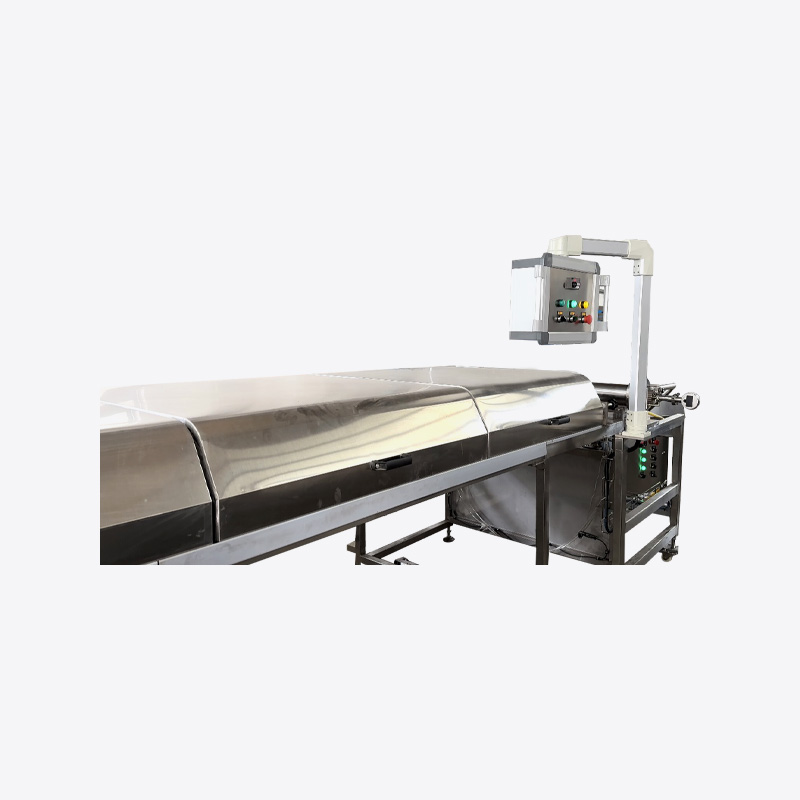
QT Series Automatic Temperature Control Chocolate Tempering MachinesWith capacities from 100 to 2,000 kg/h and PLC-controlled multi-zone temperatures, this QT series supports consistent tempering for molding, enrobing, and coating.View Product →
Prevention is cheaper than rescue. A dedicated guide explains why prevention matters more than rescue once you move from a home kitchen to a production line.
Equipment Features That Reduce Seizure Risk
If you are buying equipment for a chocolate kitchen or factory, look for features that limit moisture ingress and temperature variation. The goal is to keep the chocolate mass in a stable, homogeneous state from melting through tempering and holding.
Stainless steel construction is a baseline for hygiene, but the more important details are temperature tolerance, agitation design, and cleanability. A storage tank with an electric heating system and a mixer can hold chocolate at a stable temperature without hot spots. That reduces the risk of fat separation and sugar clumping during long holding periods.
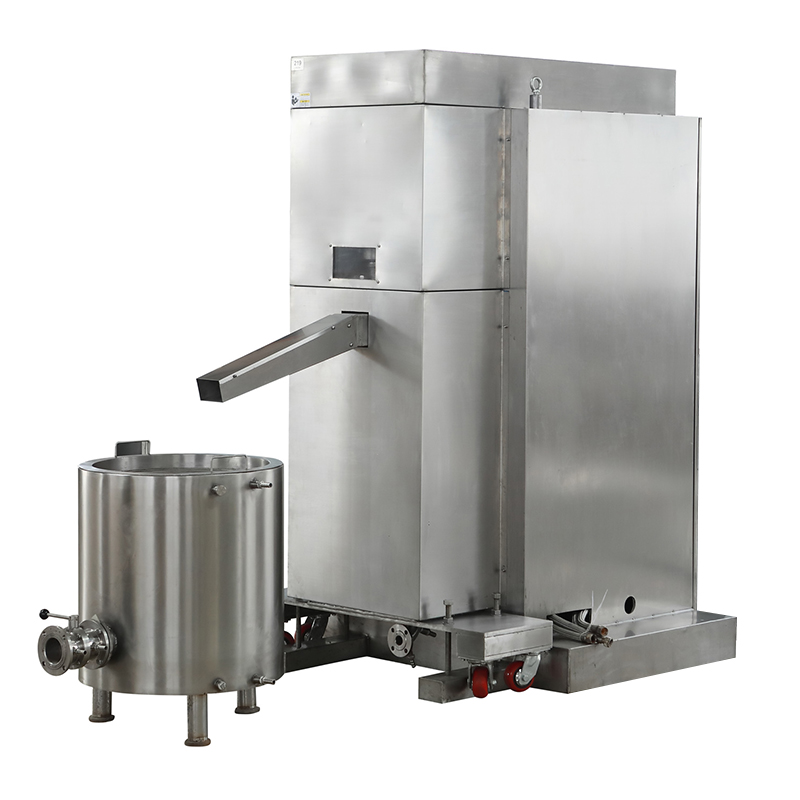
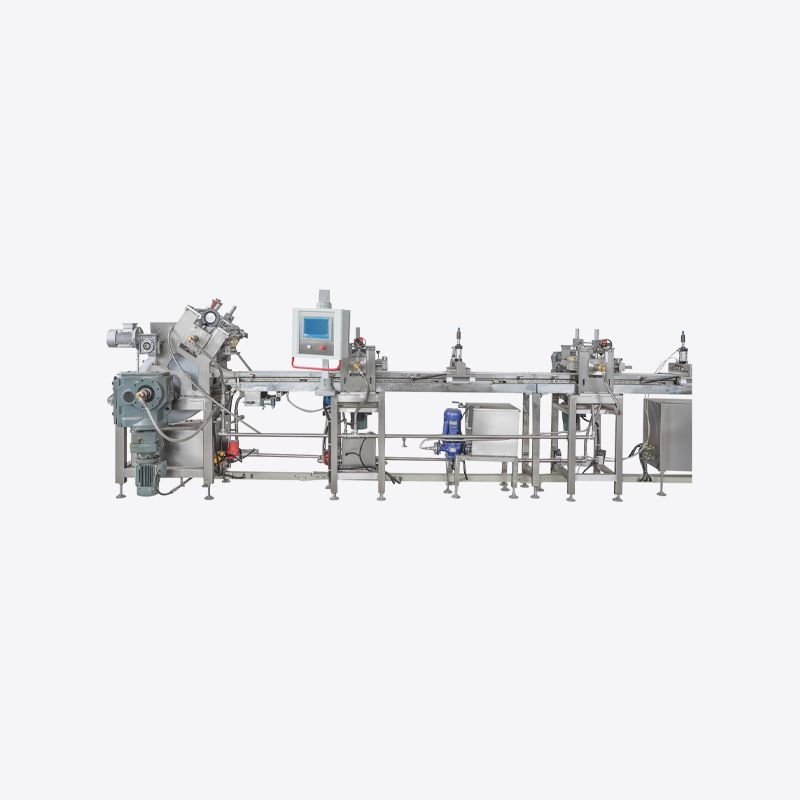
BWG Electric Heating Chocolate Storage Holding Tanks With MixersAvailable from 30 L to 5,000 L, this jacketed BWG tank combines electric heating and continuous mixing to hold liquid chocolate and reduce separation.View Product →
When comparing machines, ask for the temperature control range, the heating method, the agitator speed, and the maximum holding time. For tempering, ask how the machine handles seed chocolate and whether it can maintain temper during production pauses. These details matter more than the size of the tank alone.
| Equipment | Role in prevention | What to check |
|---|---|---|
| Tempering machine | Maintains stable crystal structure and temperature | Temperature tolerance, seed handling, holding mode |
| Fat melter | Melts cocoa butter or fats evenly without moisture | Heating method, capacity, easy drainage, stainless steel |
| Storage tank | Holds chocolate at uniform temperature with agitation | Mixer design, insulation, temperature range, cleaning access |
Rescue vs. Repurpose: Choosing the Right Outcome
Before you add anything, decide what the chocolate needs to become. If it must be tempered for coating or molding, rescue is not the right path. Start over. If it is going into a batter, brownies, or cookies, the hot water or fat method can work. If you want a smooth dessert sauce, hot water is enough. If you want truffles or frosting, use hot cream.
- For baking: add hot water or fat, then adjust the recipe's liquid or fat.
- For ganache: add hot cream and stir until smooth.
- For coating: start with fresh chocolate and dry tools.
- For sauce: add hot water until the mixture is fluid.
Label the rescued chocolate and use it within a few days. It will not have the same shelf life or handling properties as properly tempered chocolate.
Seized chocolate is a moisture problem, not a death sentence. The fastest fix is hot water added one teaspoon at a time, but fat or cream may be better depending on the final use. Keep water away from your melting bowl, control the temperature, and use dry tools. At production scale, stable tempering, melting, and holding equipment prevents most seizure before it starts. Rescue what you can, repurpose what you cannot, and save the tempered batches for work that needs a clean snap and shine.