English
 Español

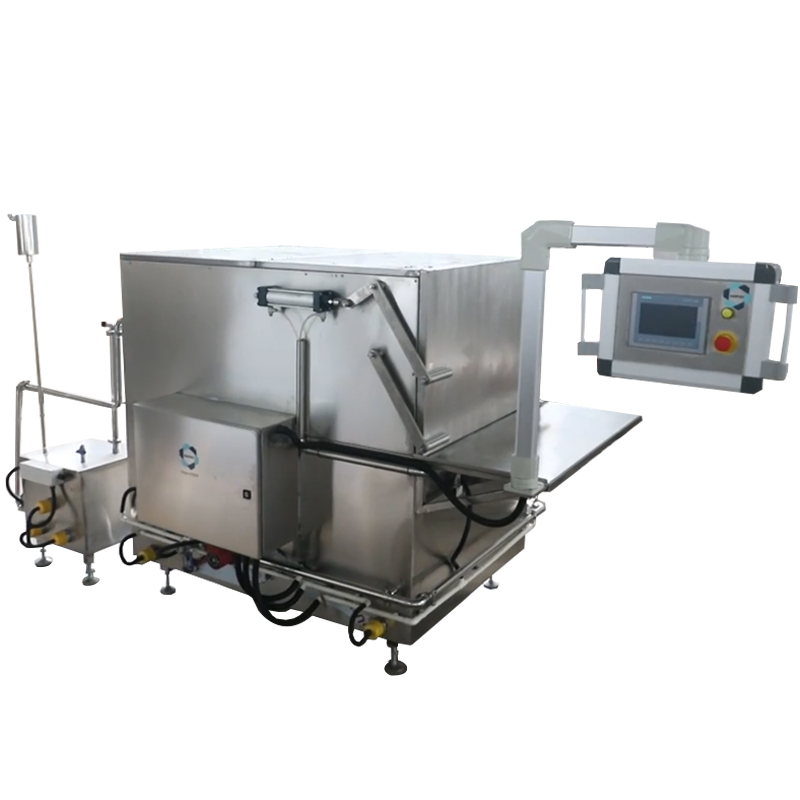
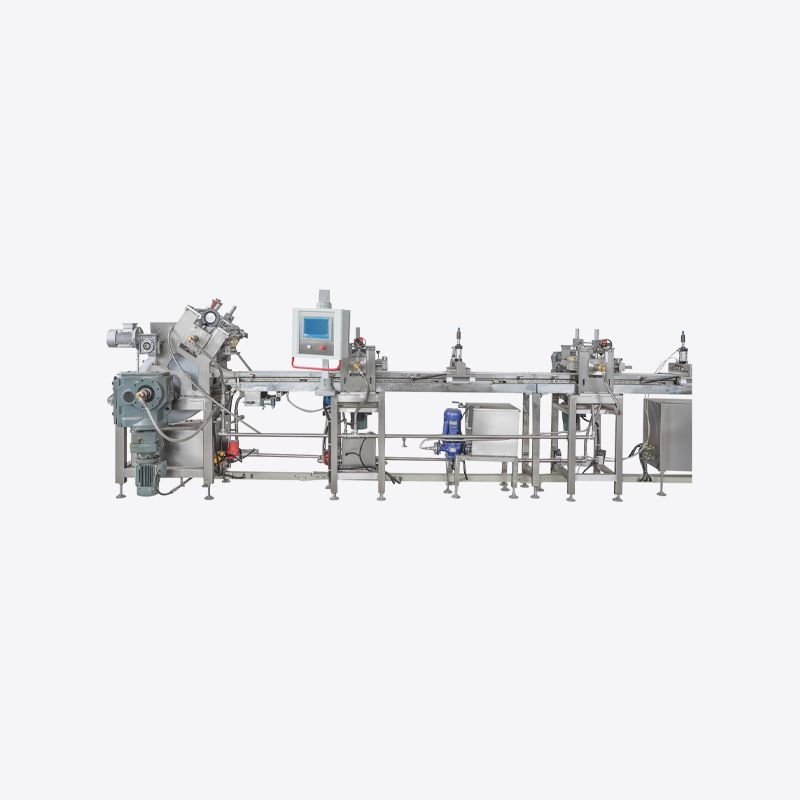
Melting chocolate may seem simple, but doing it properly is crucial to achieve the silky-smooth texture, glossy finish, and rich flavor that chocolate lovers crave. For professionals and home confectioners alike, using a Chocolate Fat Melting Machine (also known as a chocolate melter or chocolate melting pot) offers unmatched temperature control and consistency.
Content
- 1 Why Use a Chocolate Fat Melting Machine?
- 2 Types of Chocolate Suitable for Melting
- 3 Step-by-Step: How to Melt Chocolate in a Chocolate Fat Melting Machine
- 4 Common Mistakes to Avoid
- 5 Maintenance Tips for Your Chocolate Melting Machine
- 6 Applications for Melted Chocolate
- 7 Choosing the Right Chocolate Fat Melting Machine
- 8 Final Thoughts
Why Use a Chocolate Fat Melting Machine?
Before diving into the step-by-step process, it’s important to understand why a Chocolate Fat Melting Machine is superior to traditional methods like microwave heating or double boiling.
Key Advantages:
-
Consistent Temperature Control: Prevents burning and overheating.
-
Preserves Cocoa Butter Crystals: Essential for tempering and glossy finishes.
-
Hands-Free Operation: Keeps your hands free for prepping molds or decorations.
-
Large Capacity: Ideal for commercial or bulk chocolate processing.
If you’re working with high-quality chocolate or making chocolate-based products in larger quantities, a dedicated melting machine is a worthwhile investment.
Types of Chocolate Suitable for Melting
You can melt various types of chocolate in a melting machine, including:
-
Dark chocolate (bittersweet or semi-sweet)
-
Milk chocolate
-
White chocolate
-
Compound chocolate (contains vegetable fats instead of cocoa butter)
-
Cocoa butter and couverture chocolate (used in professional applications)
Note: The melting points of these chocolates vary slightly, so temperature settings must be adjusted accordingly.
Step-by-Step: How to Melt Chocolate in a Chocolate Fat Melting Machine
Step 1: Prepare the Machine
-
Clean the Melter: Make sure the melting pot or basin is clean and dry. Even a small amount of water can cause chocolate to seize.
-
Preheat the Machine: Turn on the machine and set the temperature according to the chocolate type. Most machines have digital or analog dials to adjust heat.
-
Dark Chocolate: 45–50°C (113–122°F)
-
Milk Chocolate: 40–45°C (104–113°F)
-
White Chocolate: 38–43°C (100–109°F)
-
Compound Chocolate: 35–40°C (95–104°F)
-
Pro Tip: Start at a slightly higher temperature to melt the bulk and then reduce the heat to maintain smooth consistency.
Step 2: Add the Chocolate
-
Chop or Break into Pieces: Break your chocolate into small, even chunks. This ensures faster and more uniform melting.
-
Place in the Basin: Add the chocolate directly into the inner pot of the melting machine.
-
Stir Occasionally: Use a silicone or heat-resistant spatula to stir gently every 5–10 minutes. This helps distribute heat and prevent hot spots.
Step 3: Monitor the Temperature
Accurate temperature control is essential, especially if you plan to temper the chocolate afterward.
-
Use a Thermometer: If your machine doesn’t have a built-in thermostat, use a digital or candy thermometer.
-
Avoid Overheating: Once chocolate reaches its optimal melting point, reduce the heat or switch to a warming setting to maintain temperature.
Warning: Overheating can cause the cocoa butter to separate, resulting in a gritty, dull, or scorched product.
Step 4: Optional – Tempering the Chocolate
If you want your melted chocolate to set with a glossy finish and a satisfying snap, tempering is necessary.
Two Methods of Tempering Using a Melting Machine:
-
Seeding Method: After fully melting chocolate, remove it from heat and stir in small unmelted pieces of the same chocolate. Stir until the temperature cools to the tempering range (e.g., 31–32°C for dark chocolate).
-
Manual Tempering: Pour melted chocolate onto a marble slab, cool it by spreading, and return it to the machine.
Tempering is optional for dipping or molding but crucial for chocolate bars or professional-quality items.
Common Mistakes to Avoid
-
Letting Water In: Even a few drops can cause chocolate to seize into a grainy mess.
-
Overheating: Temperatures above recommended limits can burn the chocolate.
-
Using Unchopped Blocks: Large chunks melt unevenly and waste time.
-
Neglecting to Stir: This can cause scorching at the base of the pot.
-
Mixing Different Chocolates: Each type has a unique melting point; mixing them can cause issues in texture and flavor.
Maintenance Tips for Your Chocolate Melting Machine
To keep your machine in good working condition:
-
Clean After Each Use: Once the chocolate cools slightly, wipe down with a warm cloth. Avoid using abrasive cleaners.
-
Avoid Water Immersion: Do not submerge electric components; clean only the removable basin.
-
Store Properly: Keep the machine covered and in a dry place to avoid dust and moisture.
Applications for Melted Chocolate
Once your chocolate is perfectly melted, you can use it in a variety of delicious ways:
-
Molding: Pour into silicone or polycarbonate molds for custom shapes.
-
Dipping: Coat fruits, cookies, marshmallows, or pretzels.
-
Drizzling: Decorate cakes, brownies, or pancakes.
-
Baking: Incorporate into recipes for brownies, lava cakes, or ganache.
-
Enrobing: Coat confections or truffles for a professional look.
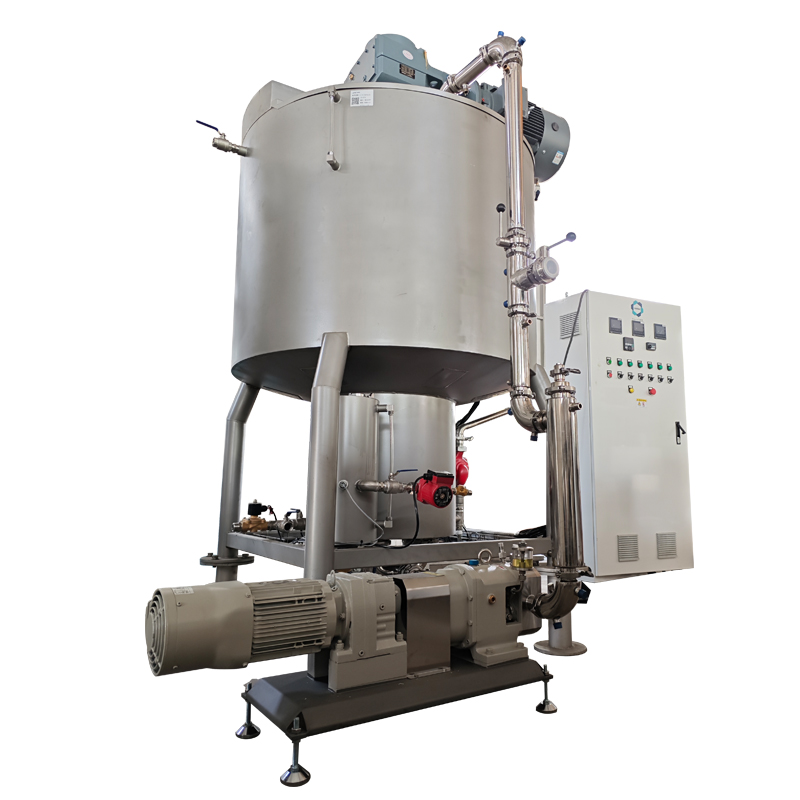
Choosing the Right Chocolate Fat Melting Machine
When selecting a machine, consider the following factors:
-
Capacity: 1–2 kg for home use, 3–10 kg or more for commercial kitchens.
-
Temperature Range: Ensure it covers all chocolate types.
-
Ease of Cleaning: Removable basins are a plus.
-
Material: Stainless steel interiors are durable and easy to sanitize.
-
Controls: Digital thermostats offer better precision than analog dials.
Popular Brands: Mol d'Art, Vevor, ChocoVision, and other professional chocolate equipment brands.
Final Thoughts
Melting chocolate in a Chocolate Fat Melting Machine is a game-changer for anyone serious about confectionery. It streamlines the process, minimizes risk of burning, and yields consistently excellent results. Whether you're making truffles, ganache, chocolate-dipped treats, or molded bars, this tool simplifies the job while elevating your chocolate work.
Remember to always use quality chocolate, respect temperature guidelines, and maintain your machine properly. With practice, you’ll achieve rich, glossy, and delicious results every time.