

 English
 Español


You are melting 600 g of dark chocolate over a water bath. The pool is glossy and fluid, then a single drop of condensation falls from the rim of the bowl. Within seconds the chocolate stiffens into a dull, gritty paste that clings to the spatula like wet sand. Nothing was burned, and nothing was measured wrong, yet the batch looks like a loss.
It usually is not. Seized chocolate is reversible in most cases, and the method that works runs against instinct: you add more liquid, not more chocolate. Producers who face this every week say the same thing — a seized batch can be fixed, but prevention pays better. Below are the exact ratios, water temperatures, and stirring sequence for a reliable rescue, plus the habits and equipment settings that keep a melt stable from the start.
Content
What Seizing Actually Is
Melted chocolate is a suspension. Fine sugar crystals, cocoa solids, and milk solids are dispersed in liquid cocoa butter, and the fat keeps every particle separated and coated. Sugar is hygroscopic, meaning it pulls water toward itself. When a small amount of water enters the melt, it binds sugar particles into clusters and forms liquid bridges between them. The cocoa butter can no longer wet each particle, viscosity climbs almost instantly, and the mass turns thick, matte, and grainy.
The important word is small. Water is not the enemy by itself; partial hydration is. A few drops clump the sugar, but add enough water to fully hydrate it and then emulsify the mixture, and the texture returns — that is exactly how ganache is made. This threshold explains why a rescue often looks worse before it looks better. For a few seconds you are still in the clumpy zone, and stopping there is the most common reason a recoverable batch is thrown away.
How to Unseize Chocolate With Warm Water
Start with these numbers
Use hot water at roughly 50–60 °C (122–140 °F) and begin with 1 teaspoon (5 ml) per 28 g of seized chocolate. Keep adding in 1 teaspoon increments until the mass turns glossy and fluid. For a 250 g batch that usually means 8 to 12 teaspoons, and the finished texture lands close to a loose ganache.
Step by step
- Move the bowl off direct heat but keep the chocolate warm, around 45–50 °C (113–122 °F). Cold chocolate will not emulsify, no matter how hard you whisk.
- Add the first teaspoon of hot water and whisk steadily for 15–20 seconds. The mixture may look greasy or separated. Keep going.
- Add one teaspoon at a time and whisk again. Spoon-by-spoon additions let you see the exact moment the emulsion forms.
- Watch for the change from gritty to slack to glossy. When the whisk leaves a smooth ribbon that disappears back into the mass, stop adding water.
- If a shiny film of fat floats on a grainy base, you are close. One or two more teaspoons with faster whisking usually pulls it together.
- Use the rescued chocolate as you would ganache, and refrigerate it if you are not using it the same day. It cannot be tempered back into molded bars, because the water permanently changes how the mass sets.
When Fat Is the Better Fix
If only a trace of water got in and the chocolate is merely tight rather than fully seized, fat can smooth it out. Add 1 teaspoon of cocoa butter, coconut oil, clarified butter, or neutral oil per 100 g, one spoonful at a time over gentle heat. Cocoa butter is the safest choice because it matches the chocolate's own fat and leaves the flavor untouched. The rescued mass will be softer, set more slowly, and lack snap, so use it for brownies, cookie dough, sauces, and glazes rather than molding or enrobing.
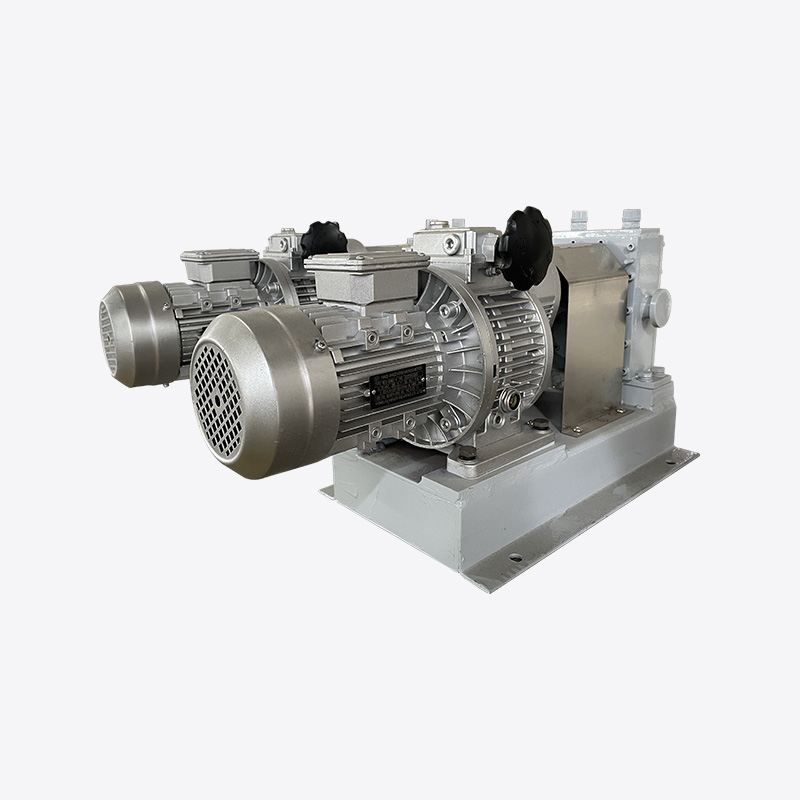
In a production kitchen, that cocoa butter does not come off a chopped block. It is melted and held in a jacketed fat melting machine so it enters the melt at a controlled temperature instead of a guessed one, which is the difference between a repeatable recipe and a batch that behaves differently every shift.
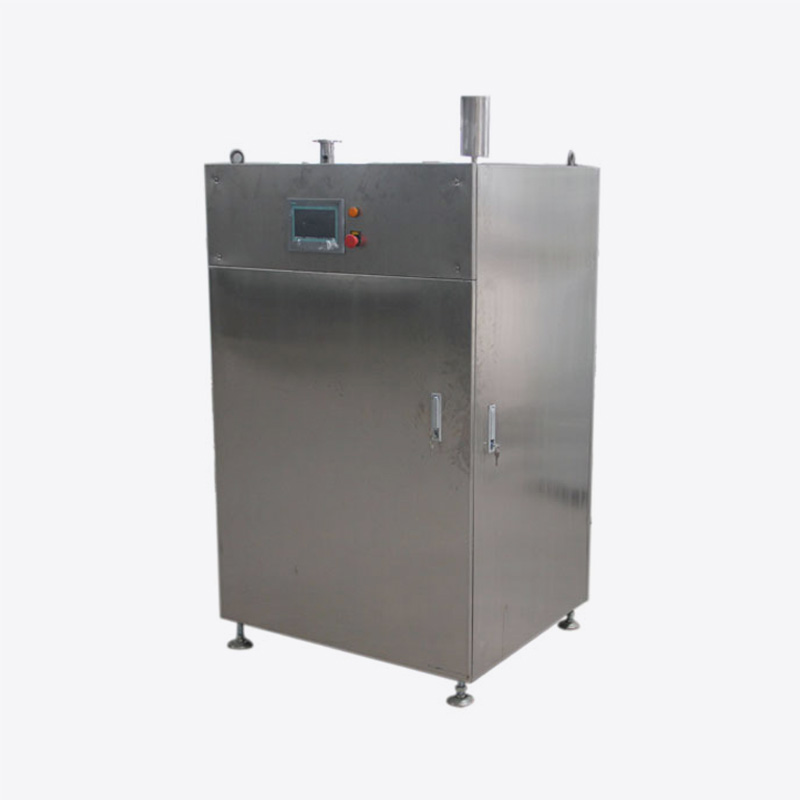
 RYG1000 Chocolate Fat Melting MachineFor controlled cocoa butter melting in production, this 1000 L/h unit uses a stainless tank, PLC touchscreen, and jacket water at 40–65°C.View Product →
Which Rescue Method Fits Your Batch
| Method | What you add | Starting ratio | Texture after rescue | Best use |
|---|---|---|---|---|
| Warm water | Hot water, 50–60 °C | 1 tsp per 28 g, repeated | Smooth, pourable, ganache-like | Sauces, glazes, mousse, hot chocolate |
| Warm cream or milk | Dairy at 40–50 °C | 1 tbsp per 60 g | Rich and creamy, softer set | Ganache, truffle centers, fillings |
| Cocoa butter or oil | 1 tsp at a time | 1 tsp per 100 g | Softer, slower set, less snap | Brownies, cookie dough, glazes for same-day use |
| No rescue at all | Fold straight into batter | Not applicable | Gritty on its own, largely hidden once baked | Cakes, brownies, muffins, cookies |
| Discard | Nothing | Not applicable | Acrid, bitter, burnt notes | Scorched chocolate cannot be recovered |
What Not to Do
- Do not add more chocolate. It dilutes the water slightly, but unless the amount was microscopic the mass stays gritty and you lose more product.
- Do not add sugar, flour, or starch. These thicken the paste without restoring the emulsion.
- Do not use cold liquid. Cold water or milk shocks the cocoa butter and makes the clumping worse before it helps.
- Do not stop at the first gritty look. Most batches need three or four additions before the texture turns.
- Do not confuse seizing with scorching. Scorched chocolate smells acrid and tastes bitter, and no amount of water or fat will bring it back. Discard it and wash the bowl thoroughly.
Prevention in a Home or Small-Batch Kitchen
Seizing is nearly always a wet-tool or steam problem rather than a chocolate problem. Six rules cover most of it:
- Dry everything: bowl, spatula, whisk, thermometer probe, and your hands. A single wet spoon is enough to start clumping.
- Keep the bowl above the water, never in it, and hold the water at a simmer. A rolling boil throws steam onto the chocolate.
- Never cover a bowl of melting chocolate. Condensation forms on the lid and drips straight into the melt.
- Work to a temperature, not a feeling. Dark chocolate melts comfortably at 45–50 °C, milk chocolate near 45 °C, and white chocolate at 40–45 °C.
- In a microwave, use 15–20 second bursts at half power and stir between each one. The chocolate holds its shape until it is stirred.
- Seed the melt. Hold back 25–30 percent of the chopped chocolate, add it off the heat, and stir until it disappears.
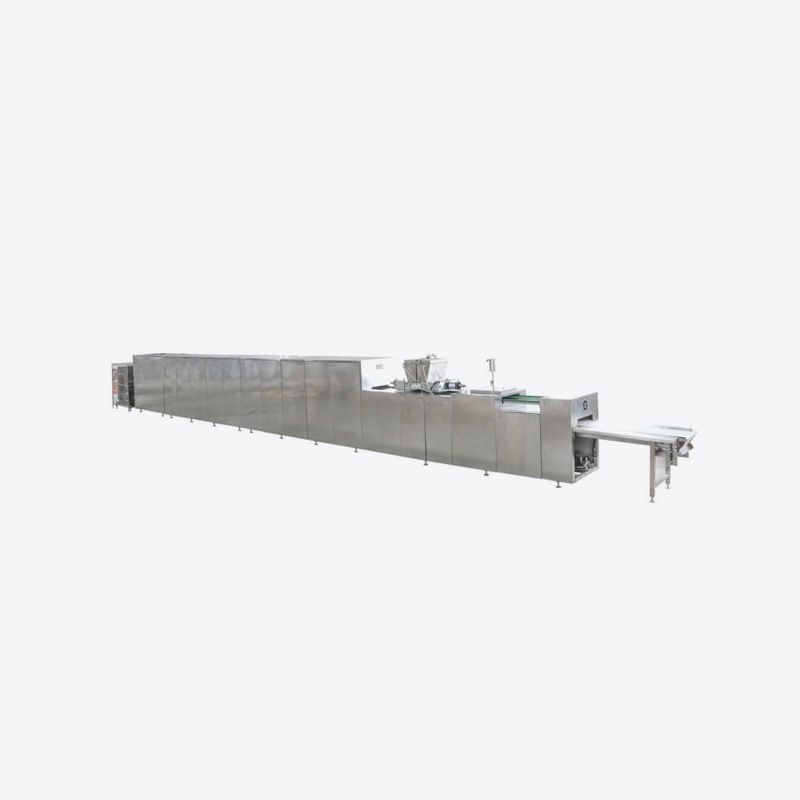
The same logic scales up. A tempering machine with automatic temperature control holds the mass inside a narrow band and keeps it moving, so the chocolate never sits against a hot surface or drops below working temperature between steps — the two conditions where clumping and poor crystallization begin.
QT Series Automatic Chocolate Tempering MachinesModels from 100 to 2000 kg/h use PLC control, multiple temperature zones, and 304 stainless contact parts to maintain stable tempering across production scales.View Product →At Production Scale, Seizing Becomes a Process Issue
Once a line runs hundreds of kilograms per shift, a seized batch costs more than the raw material. It costs line time, cleaning, and rework. The controls that keep a plant out of trouble are equipment-based rather than operator-based:
- Jacketed melting and holding vessels with slow agitation spread heat evenly, so no portion of the mass sits against a hot wall long enough to scorch or skin over.
- Lidded or closed tanks stop condensation from dripping into the chocolate during long holds.
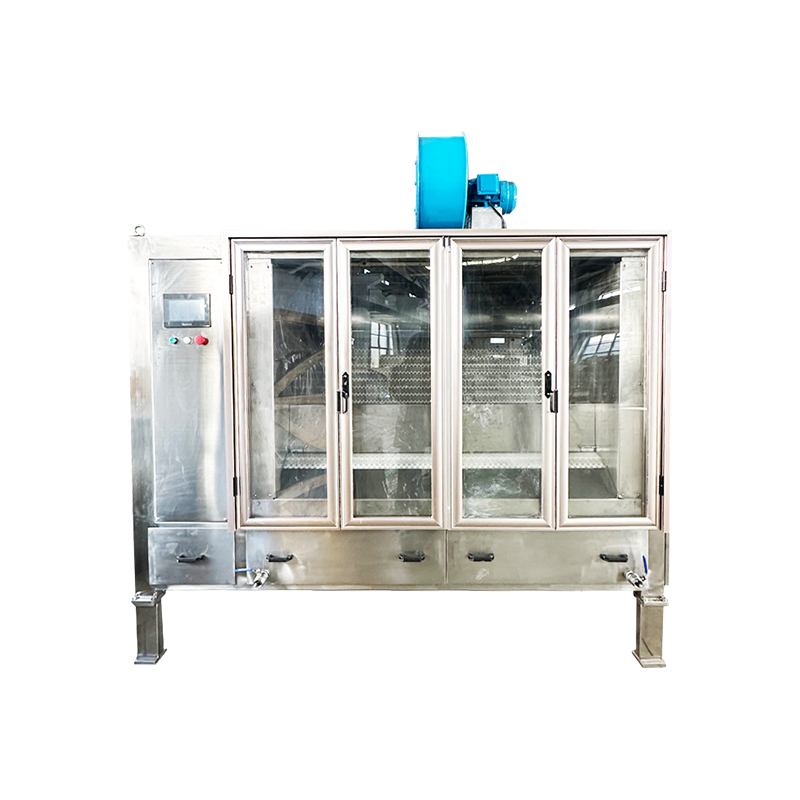
- Insulated stainless steel storage tanks with mixers keep the mass at working temperature between process steps, and SUS304 resists reaction with chocolate fat at higher temperatures.
- Delivery pumps keep the mass moving between stations. Cooled lines and dead zones in piping are where uneven texture starts.
- Tempering units hold a set curve within a narrow tolerance, typically around 1 °C, so the finished product keeps its snap and shelf appearance.
For a factory working with a complete chocolate equipment lineup, from fat melting and sugar grinding through refining, conching, tempering, depositing, cooling, and packing, the goal is the same as in a home kitchen: keep water out, keep temperature predictable, and keep the mass moving.
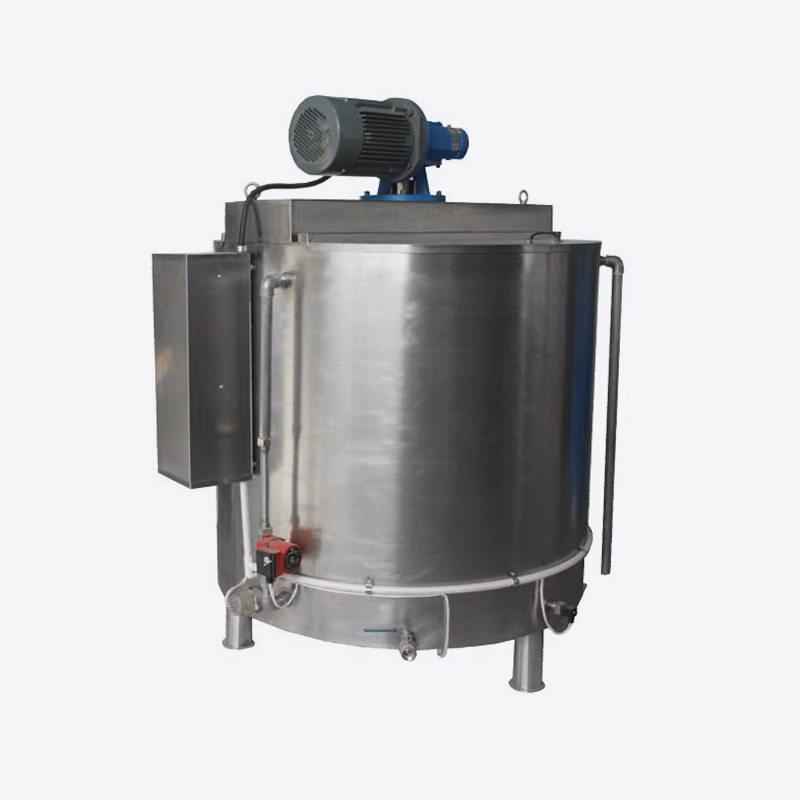
Stainless Steel Chocolate Storage and Holding TanksBWG-series tanks store milled chocolate paste with jacketed temperature control and continuous stirring, helping keep mass moving between melting, tempering, and production stages.View Product →A seized batch is rarely a lost batch. Warm water added a spoonful at a time with steady whisking brings the emulsion back, and a little cocoa butter or oil can smooth a melt that is only slightly tight. What separates a successful rescue from a wasted batch is patience at the stage where the chocolate still looks grainy — and after that, dry tools, measured temperatures, and equipment that holds those temperatures without depending on an operator's judgment.